Showing posts with label Basic Grey. Show all posts

A Little Bit of This, A Little Bit of That with Solange!

Wednesday, October 15, 2014

Hello everybody!
Today, I would like to share with you one of my favorite tip about paper: mixing two (and only two) collections together...
Okay, it's not new, but it's so fun! It's a great way to use favorite collections with a new look (or even to use scraps), and it's so much faster than to build up your own kit from many different manufacturers... And you still get this fresh look!

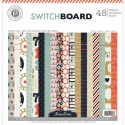
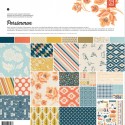
For my first layout, I wanted to use again my beloved "Persimmon" papers (Basic Grey), perfect for fall, and I decided to match them with some "Switchboard"papers (Pink Paislee).


For my second layout, I had very few "Vintage Bliss" leftovers (Simple Stories), but I loved this collection so much that I really wanted to use them... And I finally found that they matched beautifully with "RSVP" papers (Basic Grey)!
The yellow background, the pink border, the aqua and orange titles are all from the "RSVP" collection.


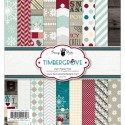
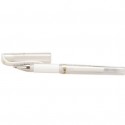
What to do with last year Holidays papers? Why not matching them with summer papers! Here, I used two Fancy Pants collections: the wintery "Timbergrove" (the grid and the red paper) and the summery "Nautical" (the blue and the woodgrain papers). I cut them with a heart die and I outlined each of them with a white pen.
Papers from the same manufacturer often match well!


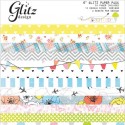
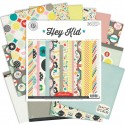
Another tip is to start with a multicolored paper from one collection, and to look for matching papers from another collection (one color papers work better for this), like I did on this last layout with papers from "Brightside" (Glitz Design) and from "Hey kid" (Pink Paislee):


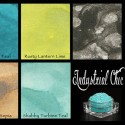
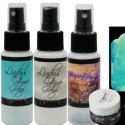
I also used my "Magicals" from Lindy Stamp's Gang on each of my layouts: the powder form is so versatile, you can use it to color any medium of your choice!

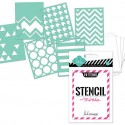
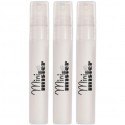
- I started by mixing the "Shabby Turbine Teal" color with some water in a mini mister, and I used it with a Heidi Swapp chevron stencil on my first layout.
- Then, I mixed the "Rusty Lantern Lime" color with some white Gesso, and I used it with a woodgrain stencil on my second layout. The effect is of course totally different!
- Next, I mixed the "Steel Shimmer" color (which is a beautiful and rich silver and not a black) with very VERY few water to create a silver paint, and I used it to color my title on my third layout.
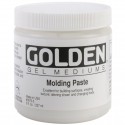
-Finally, I mixed the "Steel Shimmer" color again with some white modeling paste, and I used it with a star stencil on my last layout.


I noticed that with both white gesso and white modeling paste, you get a lighter color, and if you want to keep all the wonderful shimmery look, you need to use water (spray ink or paint, depending on how much water you use).
Looking for stencils? Take a look at the Frosted Designs store!


6 Comments »

Love This with Julie!

Monday, October 13, 2014

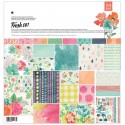
Hi everyone! :)  Julie with you here today sharing a layout I made with the Persimmon collection from Basic Grey! I just love this collection -- it's a Fall collection, but choosing the right papers in this collection, it can be used for any occasion! 


Products used from the Frosted Designs Store:

5 Comments »

Back to School with Solange!

Tuesday, September 2, 2014

Hello, Solange here!
Today is the first day of school in France, and I thought it would be a good idea to make a new set for my desk, because I use so many notebooks!

Here, the weather is still nice, but you can already feel some changes... Fall is not that far! And I wanted a color palette with this feeling, between summer anf fall.
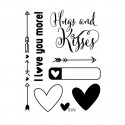
When I found this collection by Basic Grey, I was very happy, and I knew that I wanted to highlight the subtle touches of purple... So I decided to use some hearts stamps by Elle's Studio with purple ink.


Embellishing these notebooks was really easy, because I simply stuck patterned paper on it, without bothering about the binder: I added some ribbon along it and that's all!

I also made a sticky notes holder:


To create an harmony between all the elements, I used the same yellow twine, the same heart stamp and the same folded music heart.


I embellished the bigger notebook with an alphabet cut from my favorite patterns of the collection, and I outlined each letter (with a black pen first, then with a white pen).


This folded music heart is really easy to make: first I stamped a music pattern on thin white paper (using a KaiserCraft stamp). Then I cut 3 hearts. Finally, I layered them and I stitched them on the middle.

 
You could also use a text stamp, cut butterflies... The sky the limit!

http://isbahashome.blogspot.fr/


4 Comments »

Kickin Back With Katie

Tuesday, April 29, 2014

Hi everyone! It's Katie here today I am happy to be on the blog sharing a fun layout I did using some of the awesome products from the Frosted Designs store. I don't know about you, but it has been a super hectic month for me and I was so, so happy to be able to finally get some scrappy time in my new bigger studio space! The best part is I finally got everything put away and organized how I want.. now all I have to do is create!


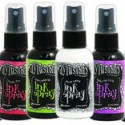
So on with the photos of my layout. I used a darker background paper to really make my bright, sunny yellow elements pop off my page. This paper is from the Basic Grey Fresh Cut line, as well as a few pieces of the PB&J line from BG. I also had fun spritzing and misting my background to add to the depth using the Lindy's Stamp Gang Starburst mist in TiffanyLou blue, the Dylusions spray in White Linen, and another mist in yellow. I carefully dried each layer before adding more so you could see each color, then laid down my papers.


After I had the main components down, I added my title and embellishments. I then went back to doodle a bit starting with the 'tail' of my balloon which is a brad, as well as some swirlys and dots using the Signo Gelly Roll pen in white. I also used some Prima Vintage Sugar Dots, and an Um Wow Flair button.


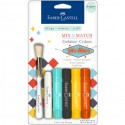
For some fun around the corners of my photo mats, I used some Faber Castel Gelatos in yellow and grey, then smudged a bit with my finger. I haven't used them this way before, but I really like how saturated the color is and I am happy how it came out. I didn't use water or anything at all on the edges but it took alot of the color after I distressed the paper's edges.


This layout really came together pretty quickly, and now that I'm settled in my new place I can't wait to keep creating! You can find most of the items I used in the Frosted Designs store, happy creating!!!


1 Comment »