Showing posts with label Rustic Beauty. Show all posts
Remember This with Connie!
Wednesday, January 14, 2015
Celebrate with Cynthia! (And a special offer!)
Tuesday, December 23, 2014
Helllo all my sweet and dear friends from all over the world!!
Now is almost Christmans and here in Brazil we love to celebrate this holiday!!!!
I love to make a big Christmans tree and also I love decorate my tree with many decorations , and much like teddy bears and my daughter Marcella loves kiss them and hug them and I took this picture in this magic moment with my Christmas tree. I am very happy to be sharing this layout I made using the Kit-"Rustic Beauty."
This kit contains so many beautiful Papers and lovely elements and also have wonderful Prima Flowers!!
I use many recycled products, such as gauze, cardboard, cord because all my pages are made with many layers!!!
I used acrylic gesso and then applied PAN PASTELL!!
Gift Giving Inspiration with Lori!
Monday, November 24, 2014
Tutorial Tuesday: Altered Tag with Brandi!!!
Tuesday, November 18, 2014
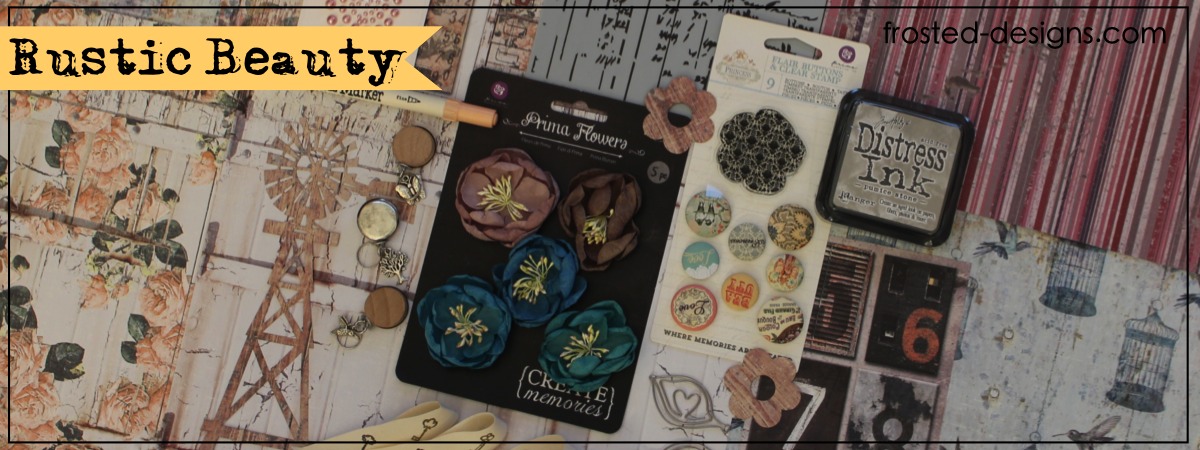
Hello everyone and happy Tuesday!! It's Brandi here today with a quick mixed media/altered tag tutorial using this month's fabulous Rustic Beauty Kit!!
First, here's another look at this month's kit:
Isn't it amazing?!?!
And here's a look at the tag I created using goodies from the kit:
Isn't it lovely?!? I just love the colors in this kit and the goodies to play with :-) Here are the steps to create the look!
1. Grab one of the tags, ink, and something to apply the ink.
1. Create a base on the tag using the ink and stencil included in the kit.
2. Using the same ink, go around the edges of the tag.
4. Grab the marker, stamp, and mini mister.
5. Color directly on the stamp with the marker and mist a small amount of water. Stamp over tag sporadically until you receive your desired look!
6. Add some of the die-cuts from the kit around the tag and distress the edges.
7. Grab some of the trim from the kit and mini mister.
8. Mist a generous amount of water over the trim and crinkle it up.
9. Once dry, unravel the trim and use for bow!
There you have it gang!!! Can't wait to see what you create!!!!!

Wassup?! With Joni!
Saturday, November 15, 2014
Happy Mid-November!! Can you believe it's so close to the holidays already? Crazy how quickly time flies isn't it?
It's Joni Parker here today and I'm sharing a quick and easy layout that I did using this month's kit RUSTIC BEAUTY...(and the Add-on kit).
I used one of the full sheets as my background and added the photo with a few other pieces of paper behind my photo, but that background was so pretty, I didn't want to hide much of it!!
4 Comments »
Country Cutie with Michelle!
Thursday, November 13, 2014
Good morning! Michelle here, and I have another page I created using this month's Rustic Beauty kit.
And here's a quick guide on how I created this page.
Check out How to Build a Layout by Michelle McDonald on Snapguide.
Thanks so much for stopping in! Have a wonderful day!
Products from the Frosted Design's store:
Heart & Soul with Rachelle!
Tuesday, November 11, 2014
Before we get to today's post, I want to take a moment to thank all of the men and women who have served our great country and have sacrificed so much so that we may have the freedoms that we have. You are appreciated!!
Hi Frosted Design friends! Rachelle here with you today. Sharing my mixed media project created by using the beautiful November "Rustic Beauty" kit. My mixed media craze continues strong without fear as I use to have. I just love it! Here is a quick tutorial so let's get started.
The title of this project is "heart & Soul." Here you will find that I love to combine embellishments from other kits along with the present because they blend together so well.
{Step 1}
I started off with a plain canvas and created textured background using several stencils. I so adore all the stencils on the market today. Next I speeded up the drying process by using my heating tool. I decided to use the peach and green cardstock because I wanted a peachy look.
Now it's time to began applying the embellishments which I glued onto the canvas. Then I began painting the canvas with white acrylic paint except for the flowers, butterfly, flair button and pearls. Allow time to dry along with using the heating tool. Becareful because the metal will get hot to the touch.
Now it's time to apply the flower clusters, pearls, and ribbon. I created a tag and placed it in the top left corner then applied the bows.
I really enjoy creating mixed media. With this kit you can go further creating more beautiful projects. I hope you have been inspired today and don't forget to hop around for our "Gift of Giving Blog Hop now going on.
Thanks for stopping by today and remember to pick up this kit and more at
Frosted Design Store for all your project needs.
See Ya soon!
Huggies!!!
Beautiful Eyes with Rachelle!
Thursday, November 6, 2014


.jpeg)