Showing posts with label Sundays with Sandee. Show all posts

Sundays with Sandee - Fairy Easy

Sunday, August 24, 2014


I have never seen a rule book for what is allowed or not allowed in art. We all have different ways to getting the end results. Hi everyone, it's Sandee here, saying let's give ourselves permission to trace. After all, we use stencils, stamps and collage with magazine pictures, what's the difference? Of course let me reference that by saying this is my private art journal and not something I am selling.


Here's my video, hope you enjoy it :)


So trace a fairy and share it with us over on the Frosted Designs Face Book page, make sure to enter it in the challenge album so you can have a chance to win something!


9 Comments »

Sundays with Sandee - Spray me HAPPY!!

Sunday, March 30, 2014


First I have to say, are you Happy? I sure am, want to know why? Because we got The Art of Whimsical Lettering in the store!!

You know what else makes me Happy?
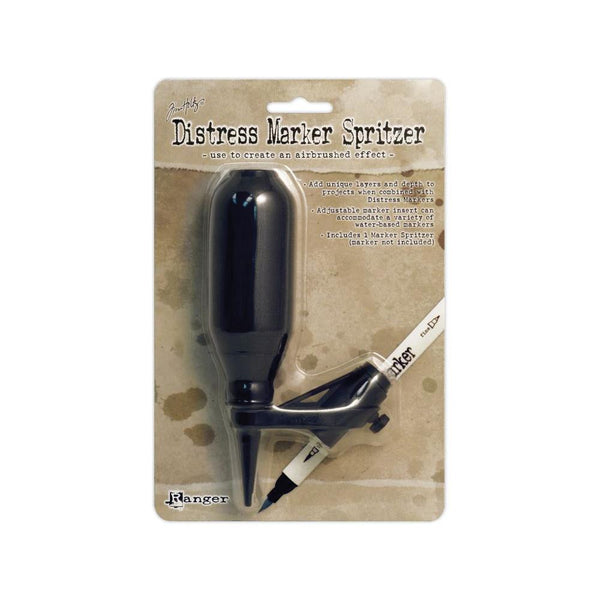
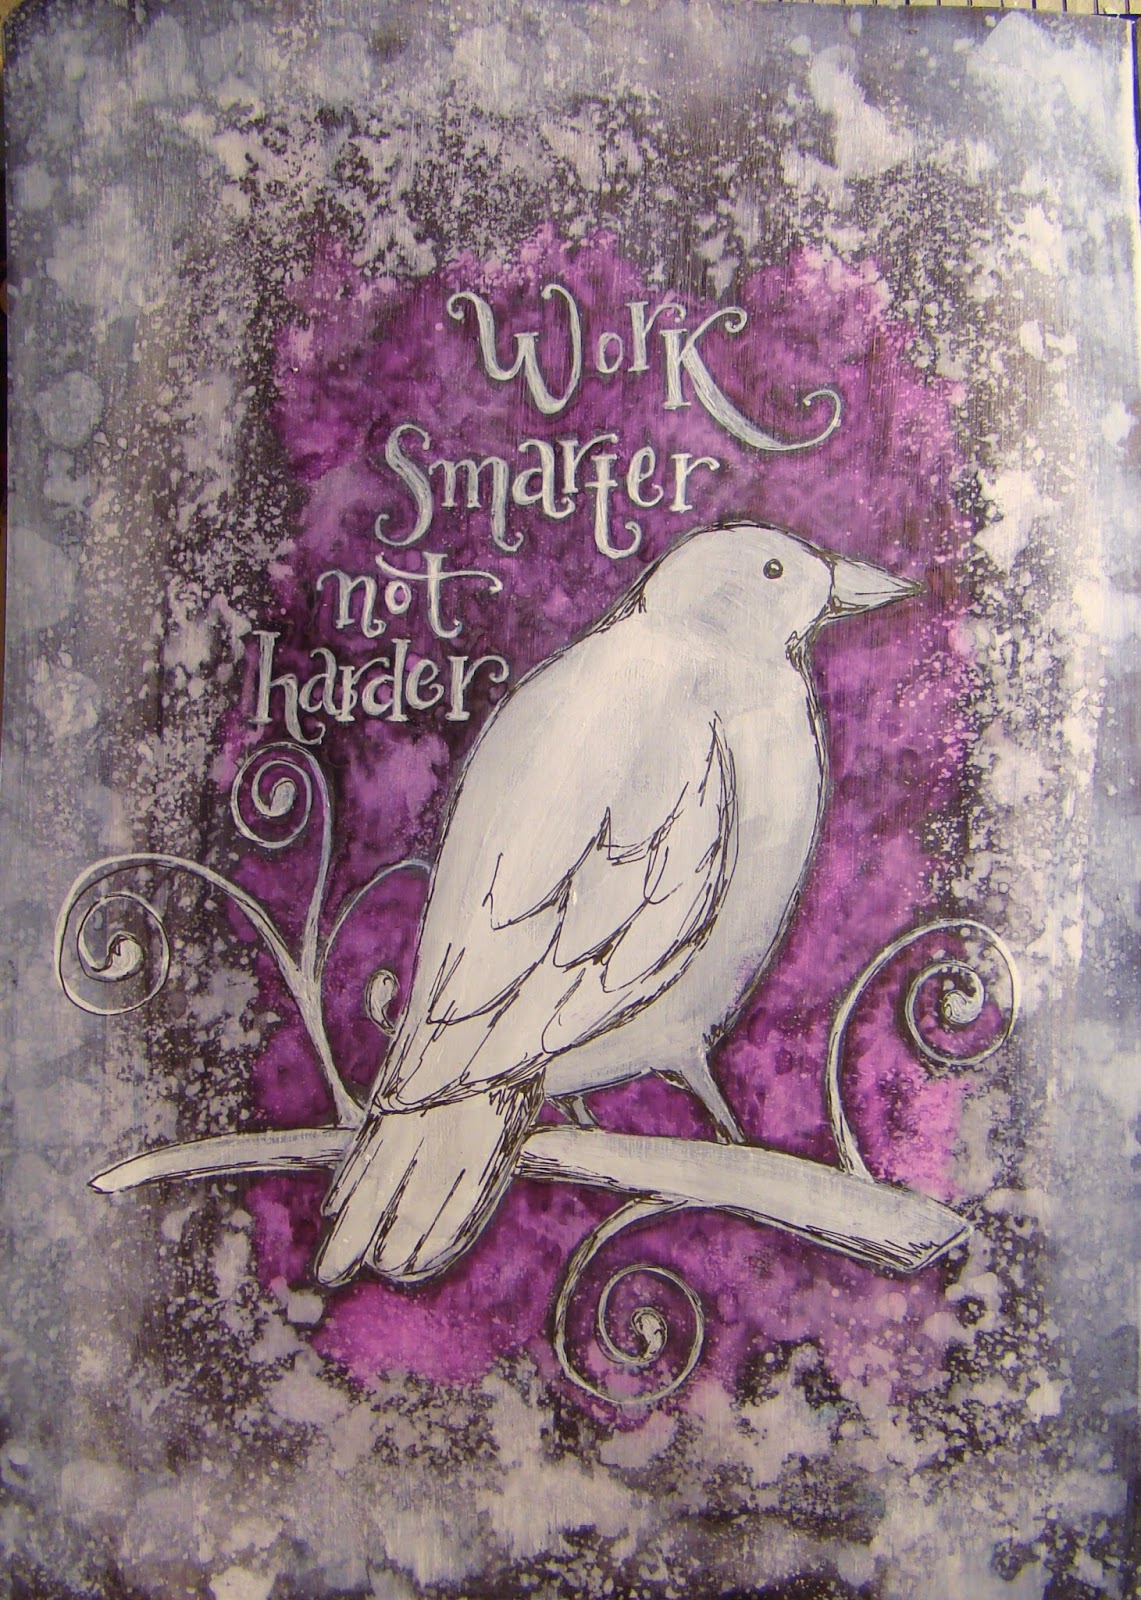
Watch the video to find out why you will never throw away an old dried up marker again!! Yeah....it's that good!! Here's my art journal page, just look at that frosted edge.....::waggling eyebrows::

Oh, let's do a close up, shall we? Seriously, I am just giddy at the thought of being able to control my spray bursts!!

Here's my video, where I take an unexpected turn in the creation process, the end result was nothing like what I had intended to do, but hey, never give up! 

As always, I'm hanging out with the other ladies from the Design Team over on the Frosted Designs Face Book page, stop by and show us your stuff and chat with us. We can't wait to see you over there!

AND… as an extra bonus… we want you to be happy so all of the items used in today's Sunday with Sandee can be yours at a 20% discount! Use the code SWS20 at checkout! In fact, everything in the Mixed Media section of the store is 20% off with this discount code! This is a great time to stock up! Click HERE to start Shopping!
(Offer expires Sunday, April 6th!)


5 Comments »

Sundays with Sandee - Typography & Lettering!

Sunday, November 24, 2013


Before we get started I'd like to thank Marlene for asking the question:
"How do I keep my pages from leaking on to the previous or next page?"
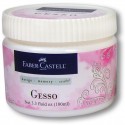
Good question Marlene! I use a small paint brush to paint a thin coat of the Faber Castell Gesso into the crease between pages. So far it seems to keep them from leaking. I also use Glad Kitchen Wrap called press n seal to cover the remaining pages so I don't accidentally get something on them.
-----------------------------------------------------------
Well, I guess it's something we need to discuss....our handwriting. I hear so many people complain about the way their handwriting looks, and how much they hate it. So let's just get over that and pretend that we love our handwriting....as a matter of fact I want you to say out loud..."I LOVE my handwriting and I am not afraid to use it!"....there, feel better? Now how do you feel about typography, let's combine them.

handwriting:
the way a person's writing looks

typography:
 the work of producing printed pages from written material
: the style, arrangement, or appearance of printed letters on a page

I took a page and just played. Yes, there are mistakes on it, but I learn what to do and what not to do by experimenting. Did you know that your hand writing says a lot about you? We'll explore a little about that too today, just for kicks and giggles. :)

This is what I consider to be the title of my page. Although it's filled with random quotes I emphasized the word "typography" in order to make it stand out. My favorite word in this group is the word "like", I used a mixture of cursive and print along with heavy and light strokes.
  • Did you know that skinny pointed lower case letters mean that you enjoy learning new things, you are inquisitive and ambitious(the higher and pointer the peaks, the more ambitious you are.)


Here, I wanted to stretch my words across the page. The word "sometimes" was created by first spacing the cursive letters across the page and then drawing lines to connect them. The word "exhausting" was created by elongating the letters and mixing upper and lower case together, plus I water colored in the negative spaces, something I love to do. 
  • Did you know that wide spaces between your letters indicate that you enjoy your freedom and don't like to be overwhelmed or crowded.


 On this sentence I stacked the words "was first" for some visual appeal and only colored in the lowercase letter "a".
Did you know that rounded letters mean that you are creative and artistic.

This quote is a combination of everything. You might call this the kitchen sink. It has cursive with print, large and small writing plus light and heavy strokes. I have stacked words and words that are stretched out.
  • Did you know that small letters mean that you are shy or withdrawn, studious, concentrated and meticulous.


This is always a fun technique, simply shaping the words to fill the space.
  • Did you know that if you have no slant at all to your writing then you don't let your emotions get the best of you. You tend to be logical and practical.

Similar to one above where the lines dictate where my letters are formed but I did a water color wash around the word "color" and highlighted with a white pen.
  • Did you know that wide loops mean you are relaxed and spontaneous, self expression comes easily to you.


The word "art" gives me a flashback to the 60's. I drew big fat letters, water colored them in and then doodled some lines. I used different size pen tips to give emphasis to different word groups.
  • Did you know that large letters mean you are outgoing, people-orientated, outspoken and love attention. This could also mean that put up a front and pretend to have a lot of confidence.

This shows different way to use color in the negative spaces.
  • Did you know that if the size of your writing is average then you tend to be well adjusted and adaptable.


So, I hope you enjoyed my lettering and typography and will give it a try. It's a good experiment in letting go and trying some new techniques. If you create a page then please post it over on the Frosted Design Face Book page, we love seeing what you make! 

Don't forget, if you want to become a kit subscriber, you better hurry!
*FREE Dylusions Creative Journal ($24.99 value) with any first time 
mixed media paper kit subscription! 
Offer expires November 30th.


8 Comments »

Sunday with Sandee - Going Dotty!

Sunday, November 17, 2013


Hi everyone, I hope you're ready to have some fun today because we are going to get messy...
in a controlled sort of way! HA! 

Here is my imperfectly perfect page for today:

And the video which will show you from start to end how I made it. Don't worry, the video is only 15 minutes long, I tried to edit out the fun stuff, like watching paint dry! ;)

Here are a couple of close-ups:

My favorite part are the controlled drips from the butterflies ♥

I love to practice different handwriting styles in my journal. It doesn't matter if they are perfect, they don't have to be straight, they don't have to be spaced evenly. The important part is just doing it.

I hope you play along with us and show all your delicious works of art on the Frosted Designs Facebook page! Don't forget, that these techniques can also be used for cards and layouts too, so join us in the fun! I can't wait to see what you made!

And this is to show you what I made after playing and experimenting in my journal. I loved the technique so much that I adapted it to this wall hanging that will go into the Art MoB for sale. For me, my art journal is a place to learn something new and try it out before I use it on an important piece. I'd love to know the reasons why you art journal :)
I used the Prima stamp from the 2013 November Mix Media Kit on my sign.

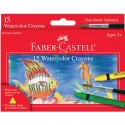
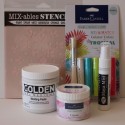
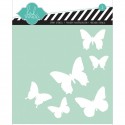
So you can see that I used the Molding Paste and the gelatos from the Mixed Media Starter Kit, the Deco Art paints from the October Mixed Media paper Kit, along with the Dylusions Creative art journal, Pigma Sensei waterproof pens, Faber Castell watercolor crayons and the Heidi Swapp butterfly stencil.


8 Comments »

Sundays with Sandee - Wax on ~ Wax Off?

Sunday, November 10, 2013


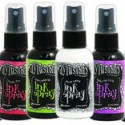
As promised, here is the wax paper technique using the Dylusional Spray inks:


Here is the 2 page spread that I created from the video:

I used the wax paper to create the petals of the flower. I first drew the shape of the flower out with a Sharpie pen onto the wax paper and then cut it out. Laying the "treated" ink side down I adhered it to the page. I then outlined it loosely with a Montana Marker.
The center of the flower is the inked paper towel that I said I had to use somehow!

I love a kit like the October 2013 Mixed Media kit that just keeps on giving. I used some of the sticker word phrases on the left side of the flower to emphasize my journaling. I sketched around the letters using the .04 Sakura pen ( I love that you get different sizes to play with )

This is the difference between the 2 backgrounds:

Ready to play?
If you try out my wax paper technique then please post a picture of what you made on our Frosted Designs face book page. We would love to see what you created!

Here's a hint at what we will be playing with next week:
Faber Castell Watercolor Crayons and Gelatos!!


11 Comments »

Sundays with Sandee: To Size or Not to Size... that is the Question!

Sunday, November 3, 2013


Hi everyone, today I am focusing on a background technique which can change your inks and watercolors and that makes things more fun and versatile! 
Here is the short video explaining "sizing you paper".


Here is a close up of the inked papers:

You can also use this technique with watercolors. Here I was using the Faber Castell water color crayons but this time using white acrylic paint to size my paper first. Just like in the inks, the watercolors are brighter and more vibrant on sized paper than on untreated paper. Plus as an added bonus you can move the watercolor around more on a sized background where it sinks in more into the plain paper.

So, if you aren't getting the results that you've wanted, maybe try sizing your paper first and see what that does? It's always fun to play around and experiment.


2 Comments »