

Hi everyone! This is Elizabeth from 217 Creations. this week is my turn to share a tutorial with our fabulous readers here at Frosted Designs!
Today I am going to show you how to make a Washi Tape Banner for cards, layouts, and altered items.
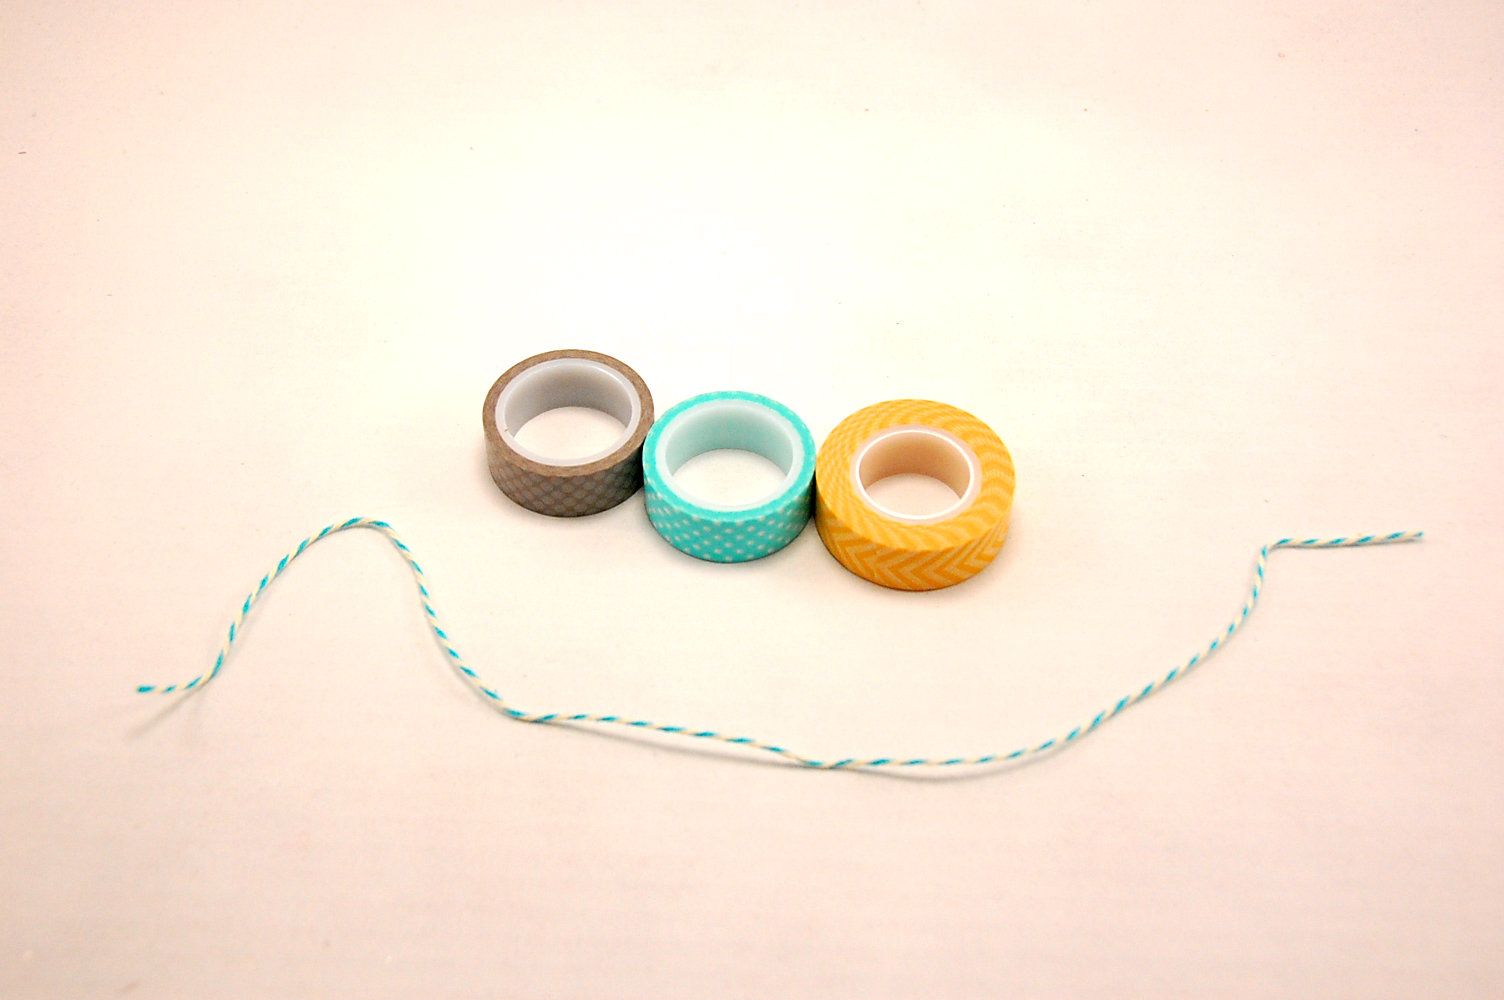
First Cut your self a length of twine or string. You could also use really thin ribbon. Choose your Washi Tape colors.
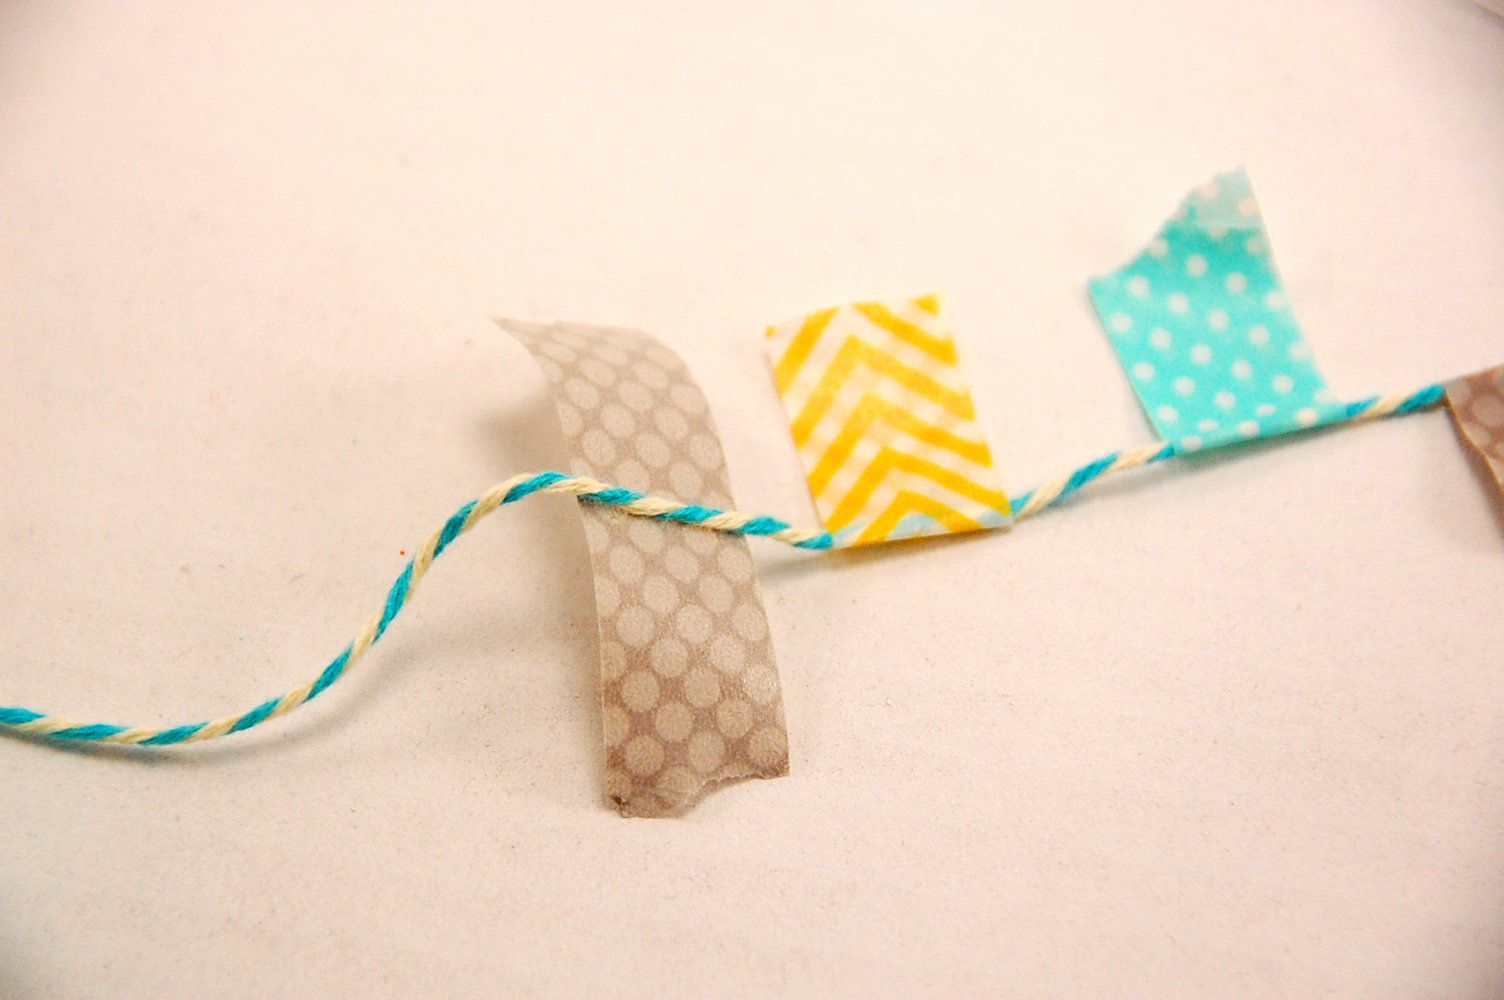
Make a pattern of Washi Tape strips, folding the torn strips in half and wrapping around the twine.

Take a sharp pair of scissors and trim each strip into a pennant shape. I start at the outside corner and work inward on each side.

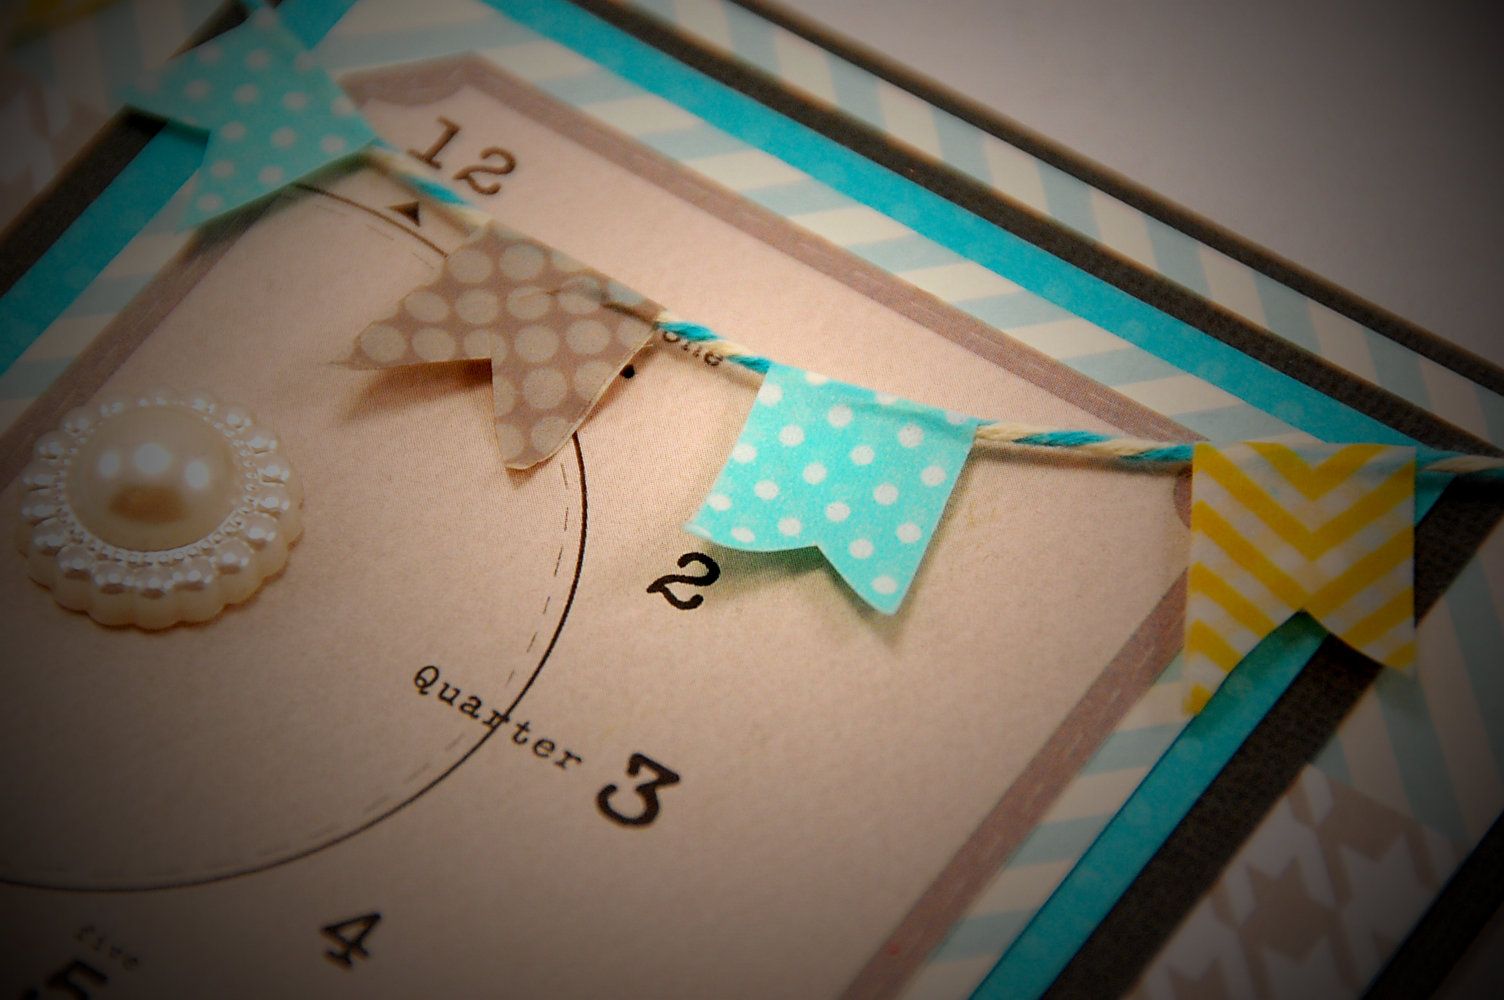
Create a card base. Mine is made with Teresa Collins paper "Memories".
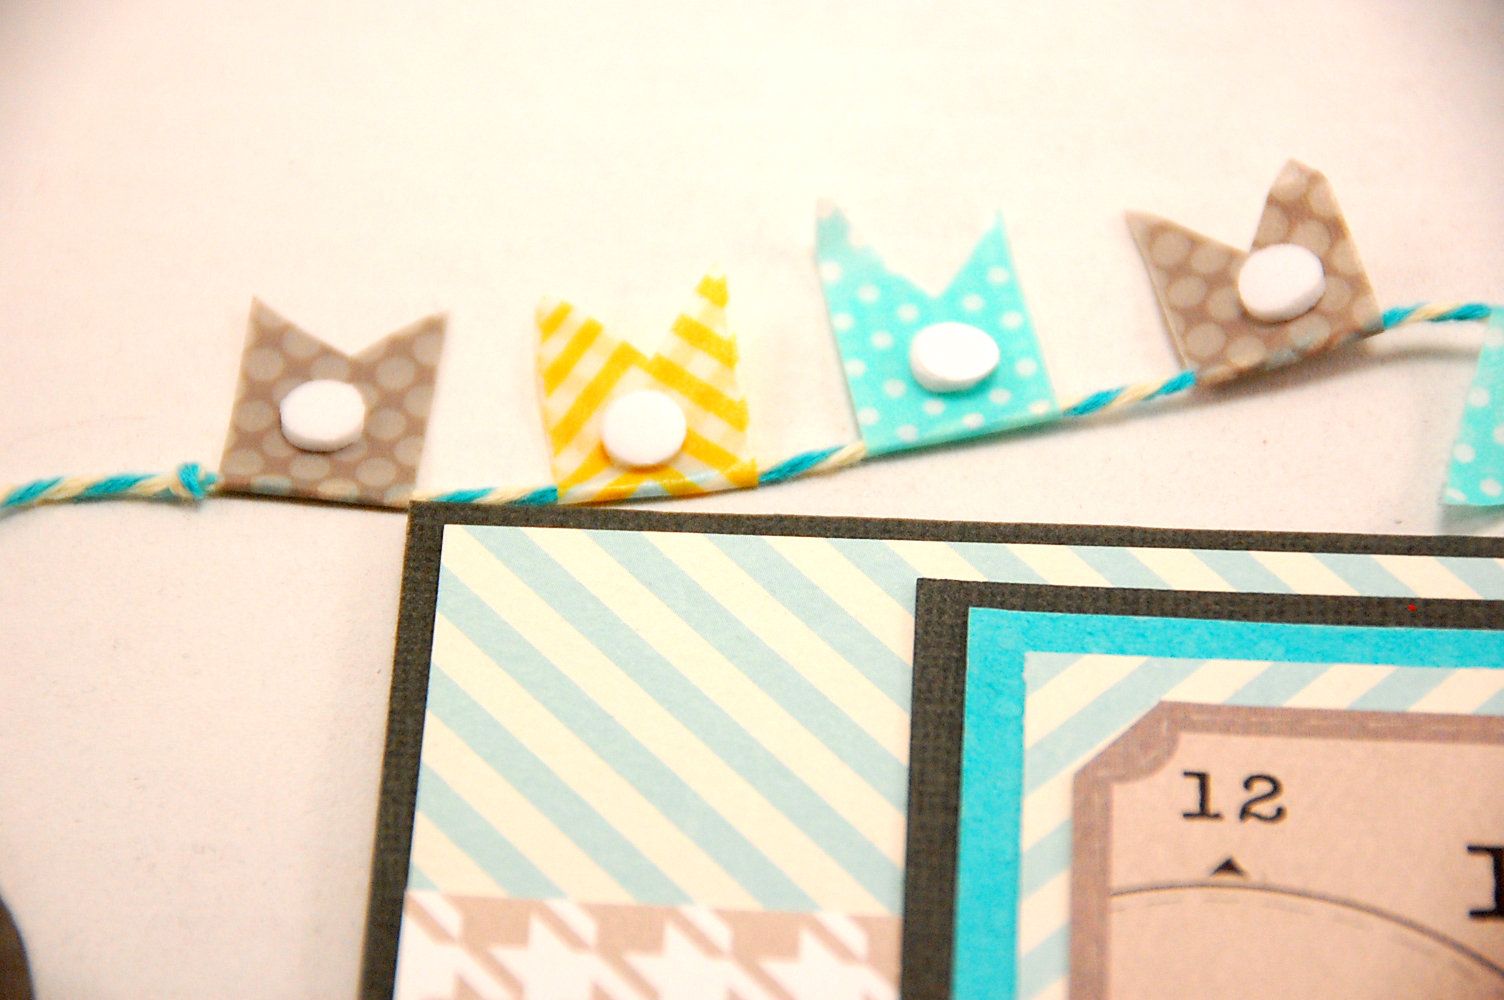
Next apply a small pop dot on the back of each pennant. I like pop dots because they are somewhat forgiving for placement.
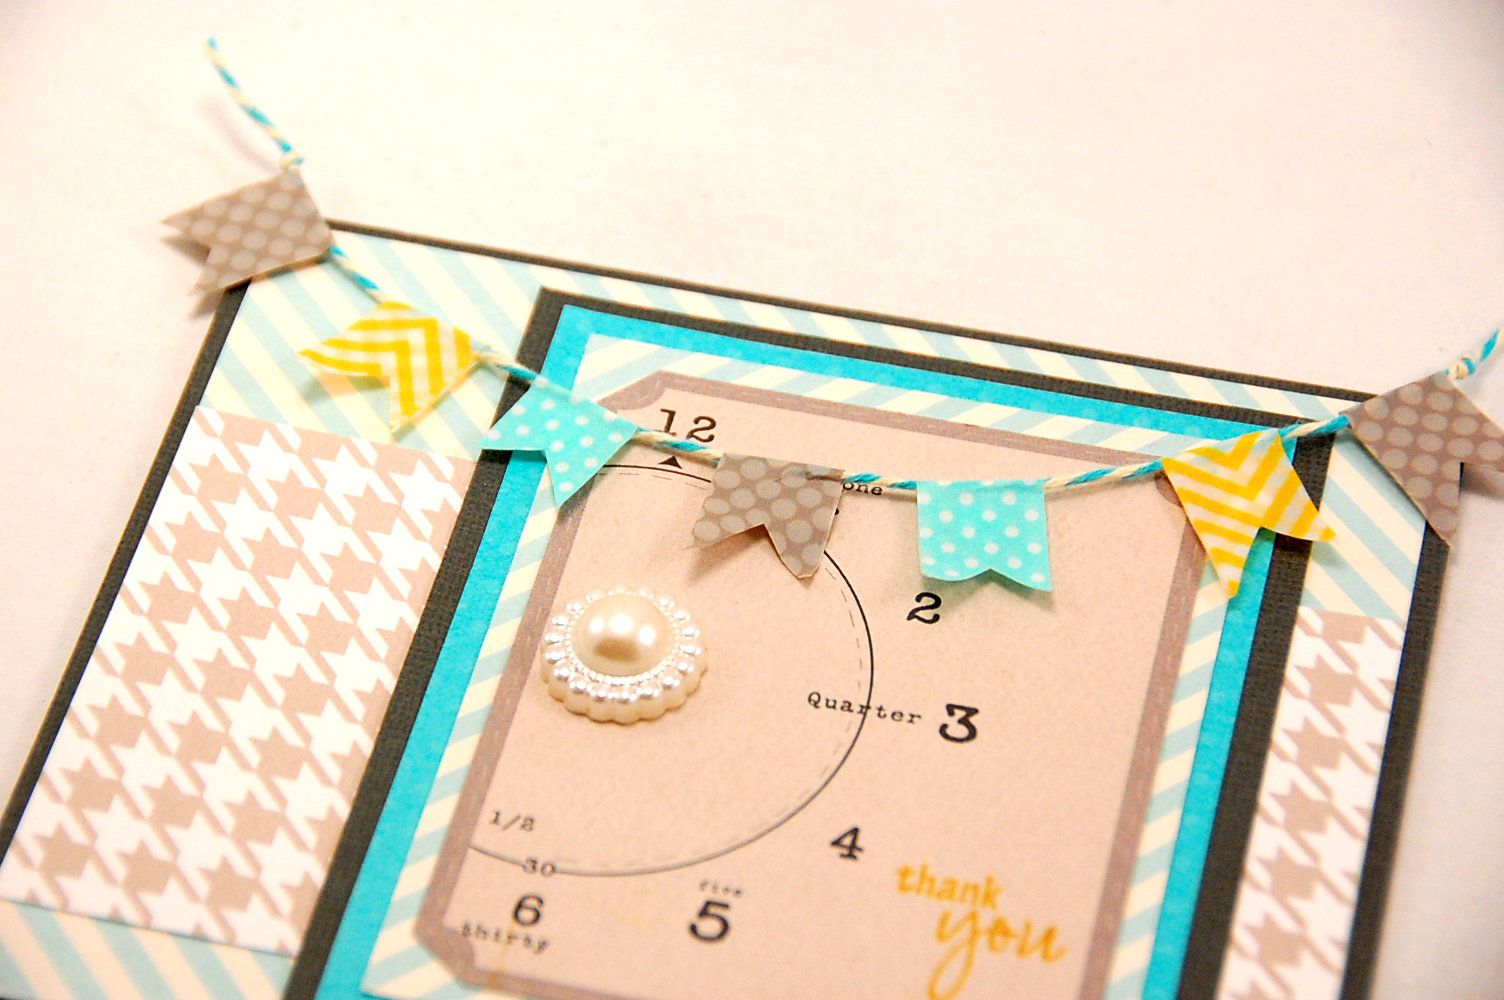
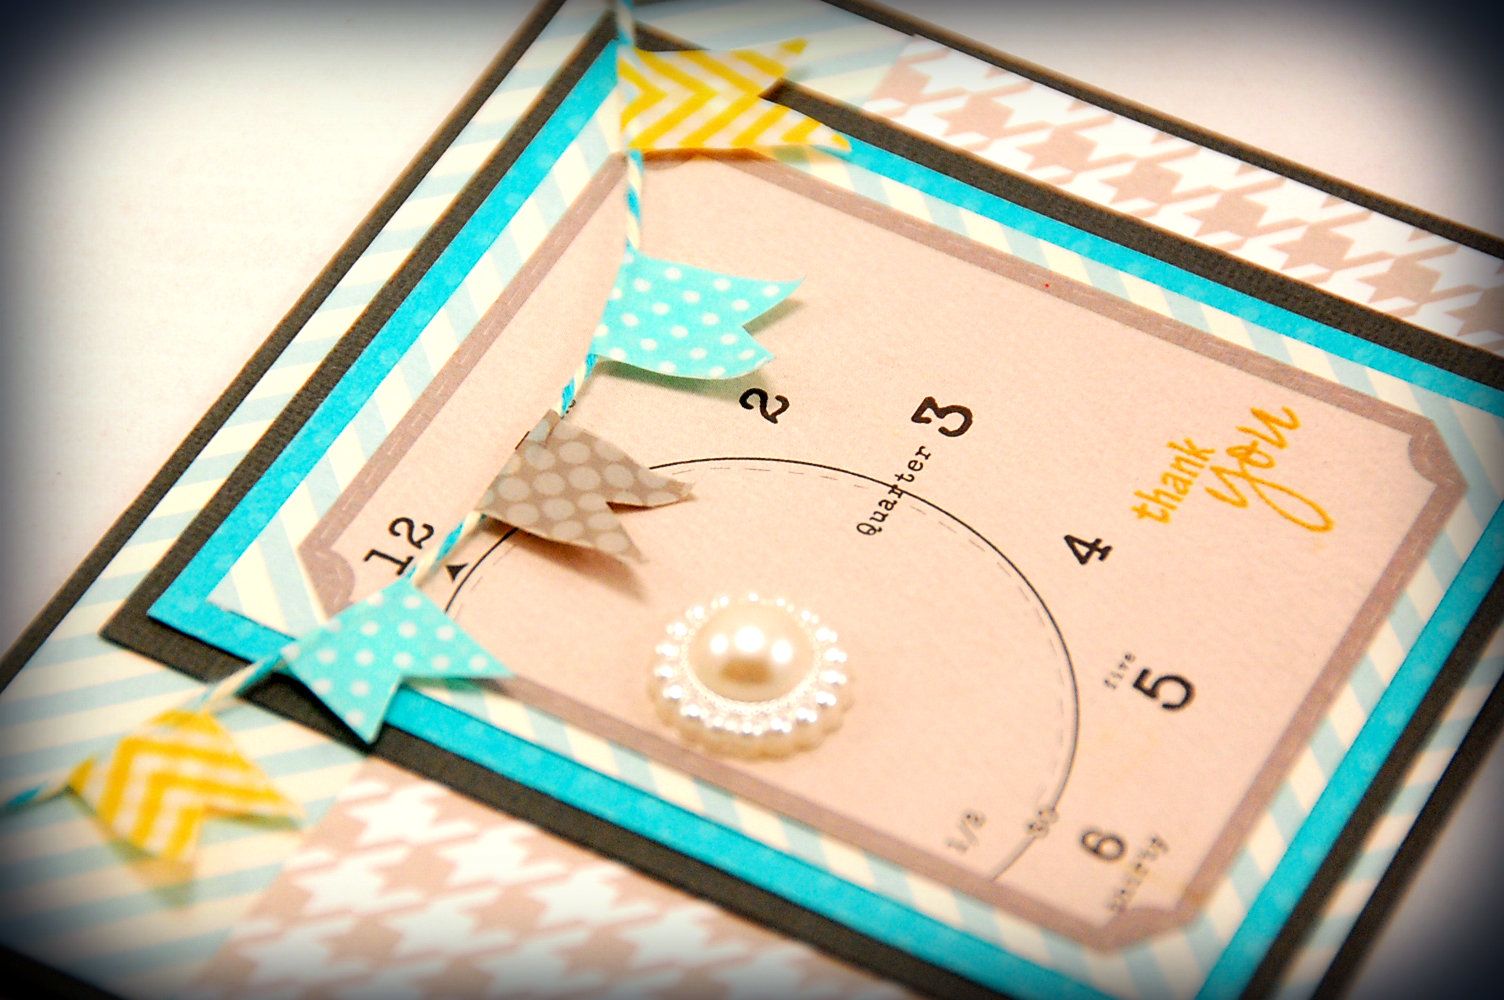
Now place your a banner across your card.
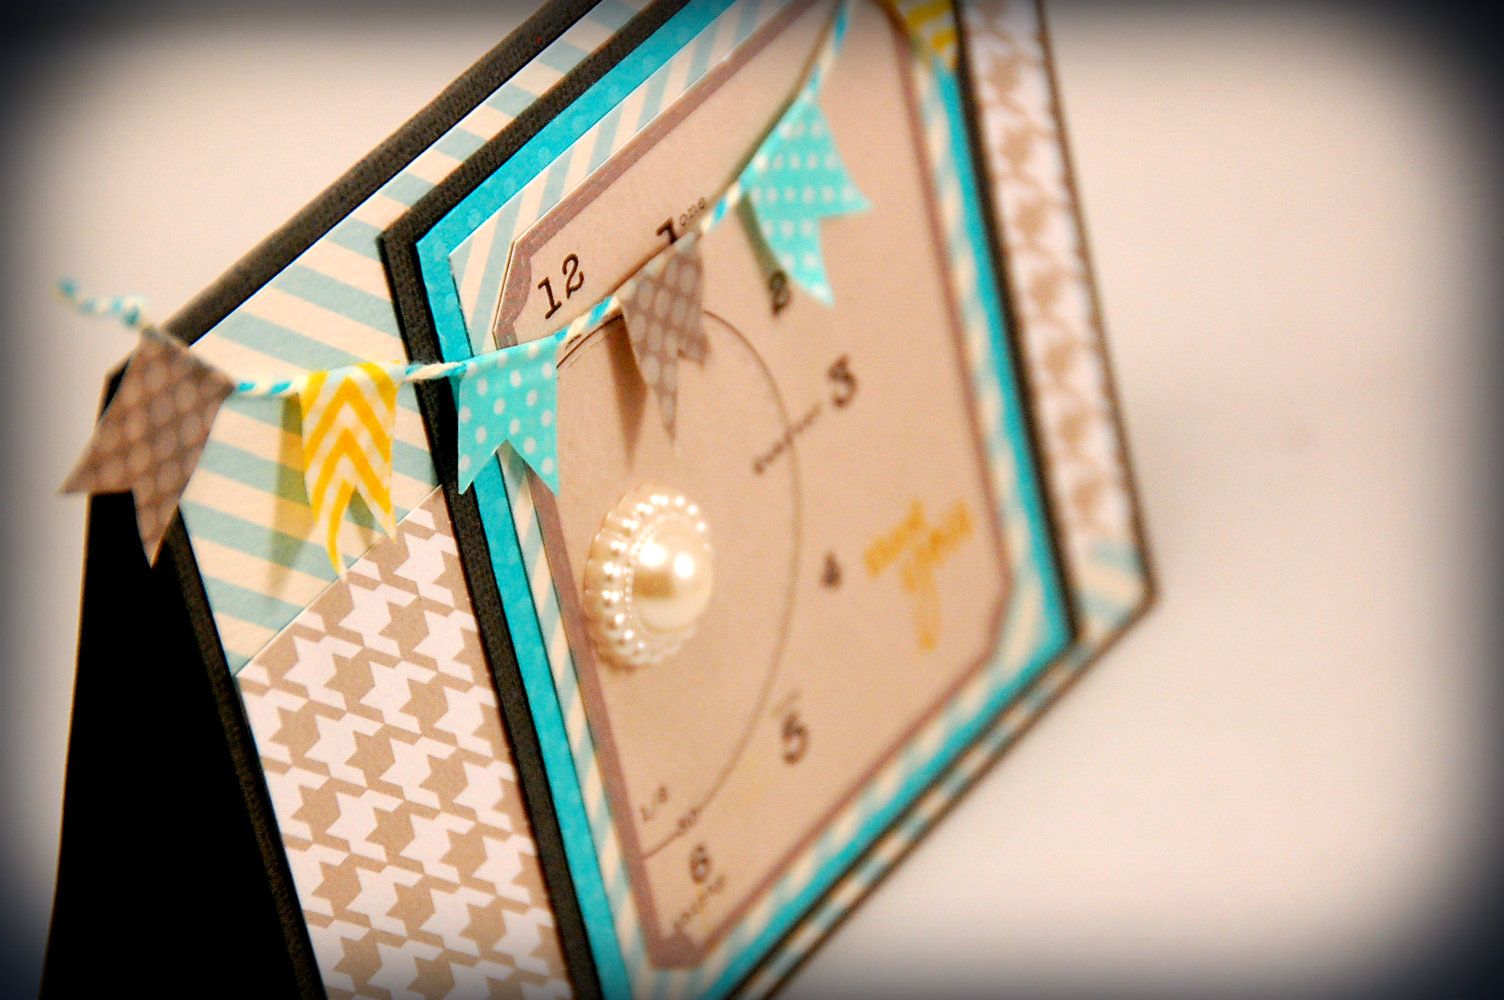
I love this color combination! The pop dots really allow the banner to stand out.
Thank you as always for taking the time to leave a comment and for subscribing to us here at Frosted Designs and on my personal blog at 217 Creations.
5 Comments »


5 Responses to “Tutorial Tuesday with Elizabeth!”
What a beautiful card! I love the washi tape banner and the colors are amazing!
What a great idea. So easy this way. Lovely card.
Very clever! Thanks so much for sharing and love that card!!
-Dawn
http://serenityscrappers.blogspot.com/
Love your washi tape banner :)
This makes me want to go buy more Washi Tape!! Thanks for the easy step by step tutorial!!
barb :)
Post a Comment