
One of my all-time favorite techniques is Paper Pleating! It can be dressed up and sort of fussy, or distressed and sort of every which way. There are many ways to do this, but let me just show you a couple easy ways I use.

Next trim your paper into a strip:

I chose to make mine 3/4" wide strip. You can make them larger or smaller. If you want it to go all the way across your page you will need to cut 2 strips and put them end to end (as you make the folds it will cut your length in half).
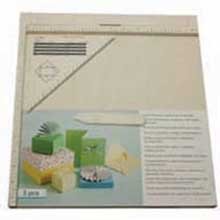
This is what the Martha Stewart Scoring Board looks like. But you can use your score blade on your paper trimmer just as well.
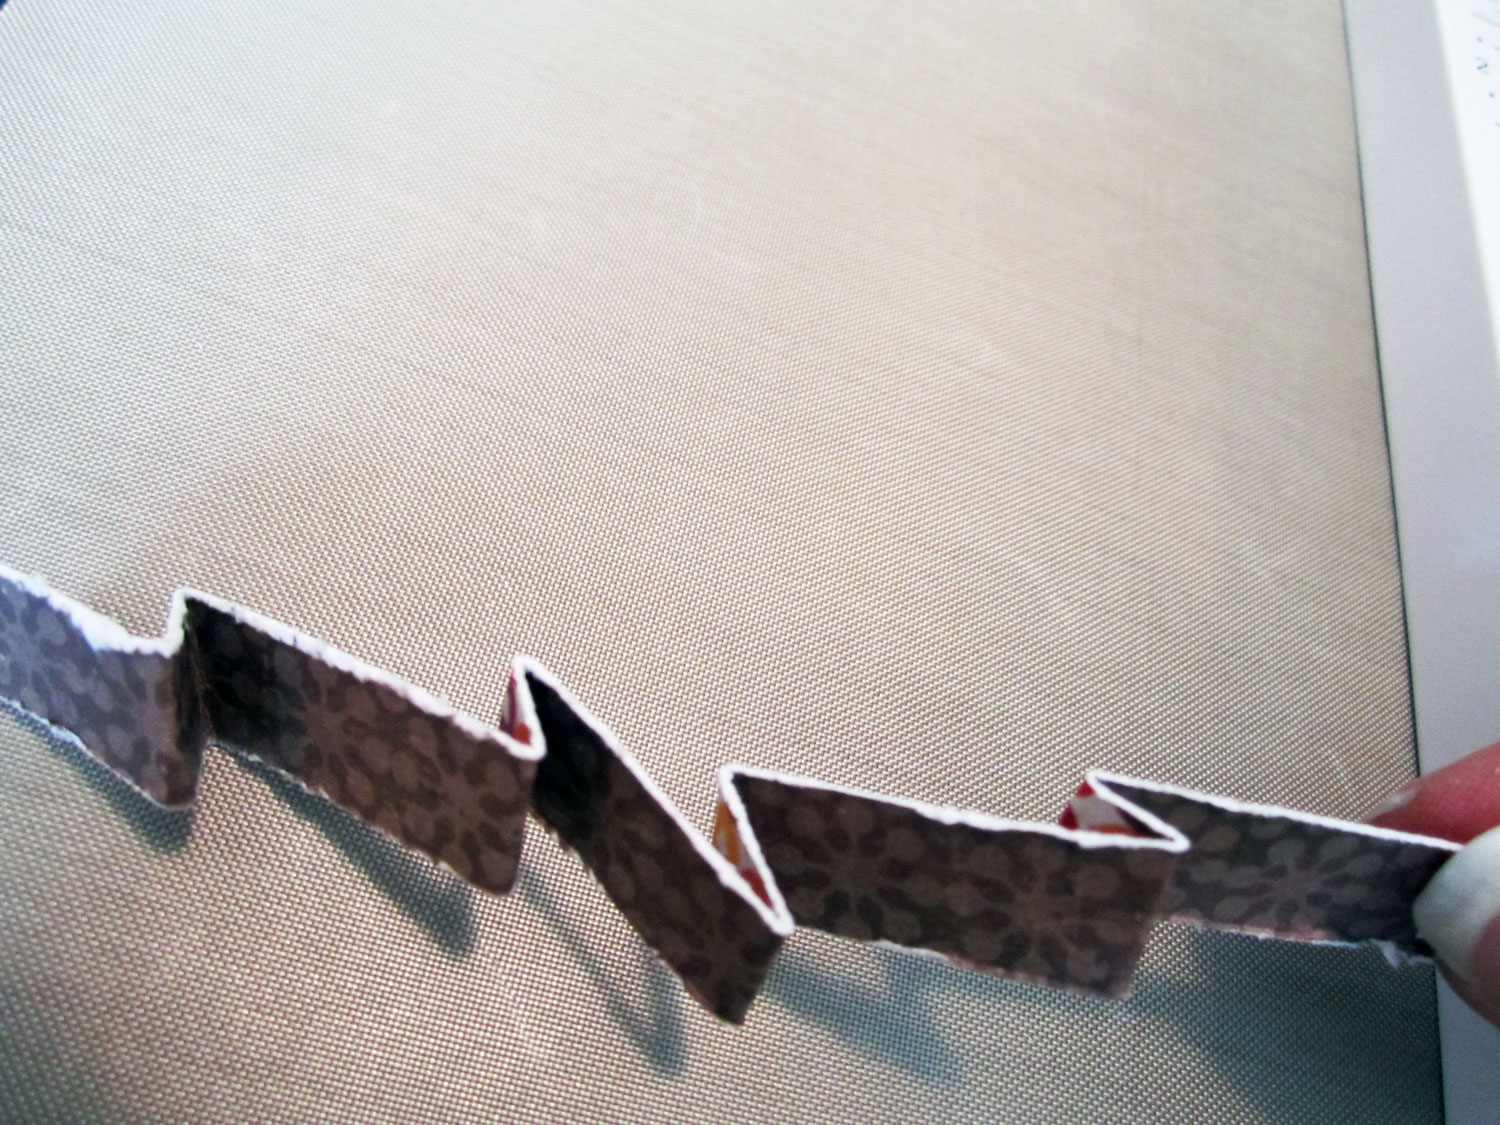
Next you will need to score your strip. For this fold I will make score marks at 1/4", then a 3/4", then 1/4" and then 3/4" again....and so on all the way across.

To score it with the Scoring Board I just put pressure on the white pointed tool and it pushes the paper into those grooves a little, creating a mark on the paper. That mark is scoring the paper making it easy to fold. If you are using a score blade in your paper trimmer, you will run the score blade at those same increments.

At this point I like to sew across it. You don't have to if you don't want to (or don't have a machine). I will show you how to add adhesive in just a minute. For now, I am sewing. Just feed it through your machine.

It should look like this when you are done (or twice as wide if you used 2 strips together):

Then just flip it over, put adhesive on it and attach it to your layout. Or staple it on....or however you want.
Now for a distressed, non-uniform look. This time I just cut a 1/2" strip of paper and distressed the edges with my distressing tool.

Then I just sort of folded it back and forth so it didn't look uniform at all. It's just sort of free-form.
This time I would definitely flip it over and add adhesive, to assure that it stayed down on the page. Because this isn't sewn it needs to be adhered the full length of the strip.
Another look is accordian folded with all the folds evenly spaced and all going the same way. I cut my strip 1/2" (you can make yours any width). I marked at the 1/4" mark and the 1/2", then 1/4" and 1/2" and so on....all the way across:

I did an extra grey paper strip and made marks with my pencil so you could see where I was going to score the brown strip.
Then fold your strip so that the 1/4" is always underneath. It will end up evenly spaced on the top, all going the same direction. Then flip it over and put adhesive all the way down it like this (the opposite side of my brown strip is multi-colored, but it is the same piece):

Here are a few layouts I've done that I've used my pleated strips on.


Enjoy your pleating! Be sure to give it a try and see how fun it can be.
blessings,
ruth


13 Responses to “SHOW ME SUNDAY BY: Ruth”
Ruth this is a great tutorial, I love that look also. Your LOs are beautiful Thanks for show us.
Thanks ever so much Ruth - have been trying to do this for ages and couldn't figure out where to score - will give it a go
xx
Paper pleating is a whole lot of fun! I like all your examples; and kinda wish I owned a sewing machine now.
What a great tutorial!! I have to try this!
Ruth... I love this tutorial! Pleating is such a trend right now and you make it all look so easy! Thanks for the tute!
Barb :)
it's a real good idea. I'm going to try it asap.
I have to tell you that I am def going to try this technique and you all rock for showing it to me. Thank you. I love trying new stuff and this looks really easy to do but brings so much detail to the project. Love it!!
Wonderful tutorial Ruth! Thanks for sharing. I bought the Martha Stewart Score Board last month with a 50% off coupon and have yet to use it!
I love these ideas!! Thank you so much for the instructions with pictures! What great pages too!
Just a quick note to let you know that a link to this post will be placed on CraftCrave today [21 Feb 12:00am GMT]. Thanks, Maria
Ruth, what die or tool did you use to get the scallops on your pleated scalloped strip? The scallops are perfectly symmetrical, in three's, on the pleats.
Thanks, your tutorial is great! Catherine
Catherine, thanks for the compliment! :) I'm so glad you enjoyed it.
I used a pair of scalloped scissors for my scallops. They are old heavy duty metal scissor that originally were made for cutting fabrics (just like pinking shears) and they happen to be almost exactly 1/4" scallops. I did have to slide my paper just a little every so often to get the groove on my scoring board to fit with the scallops.
I hope this method works for you and you enjoy it!
This blog is good.Established in 1995, Kanwal Enterprises is a leading manufacturer and exporter of high caliber Filter Making Machines for application in the filter manufacturing industry. They provide a wide range of products from Mini-Pleating machinery, Hot melt dispensing equipment, Special purpose machines used in the manufacture of GT Filters, HEPA Filters and Automotive Filters.Blade Pleating Machine.
Post a Comment