
Before we get to this week's tutorial, we have a birthday to celebrate!
 HAPPY BIRTHDAY ERIN REED!
Now, on to Becky's fabulous tutorial....
Now, on to Becky's fabulous tutorial....
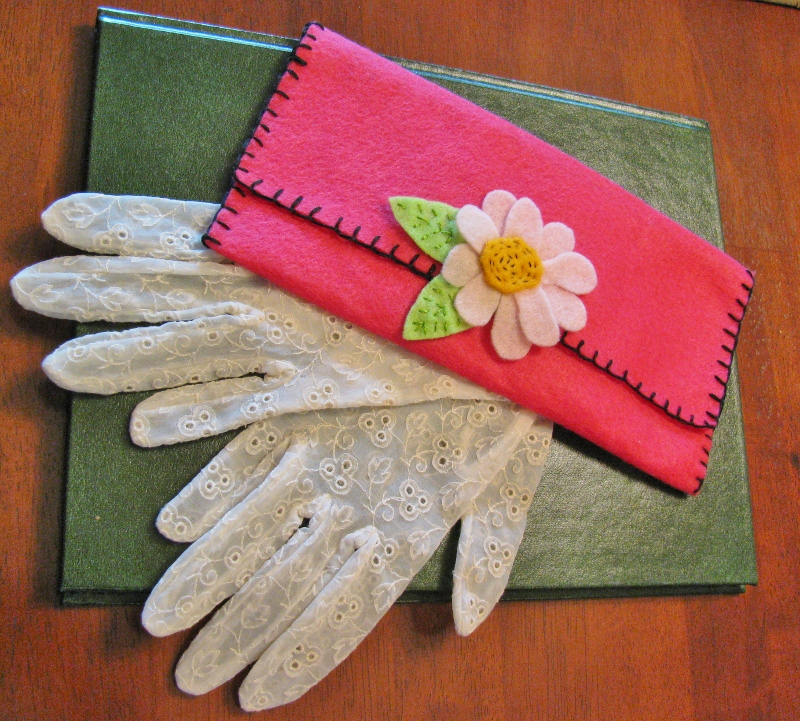
Hi, Everyone - Becky B. here! I'm really excited to host this week's "Show Me Sunday" tutorial, where I'm going to teach you how to whip up a super cute felt clutch in just a matter of minutes! These are great accessories to carry in your purse to discretely hold "unmentionables". They also make terrific/inexpensive gifts for friends and co-workers...just add pens, pencils, markers, notepads, candy...the skies the limit! Here are the supplies you'll need for this project:
- 9" x 12" piece of felt for clutch (I used hot pink)
- Scraps of felt for flower (I used baby pink, yellow, and lime green)
- Embroidery floss (I used black and green)
- Tiny piece of fiberfill
- Velcro
- Scissors
- Any other trim that you'd like to add (I ended up not using the rick-rack on this clutch)


Not sure how to do a blanket stitch? It's an easy stitch that adds a wonderful, finished look to all kinds of projects! Here's a diagram to show you how:


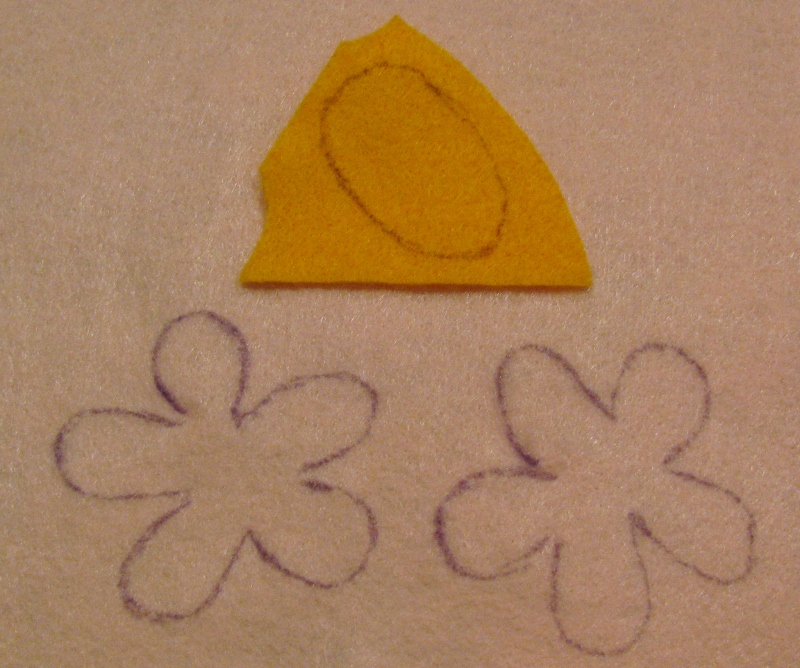
Cut the pieces out and layer them. Add a tiny piece of fiberfill batting under the yellow oval to give it a slight "puffy" effect. Using two strands of embroidery floss, stitch the layers together in the flower's center, tucking under the yellow edges and catching them with the running stitches as you go:


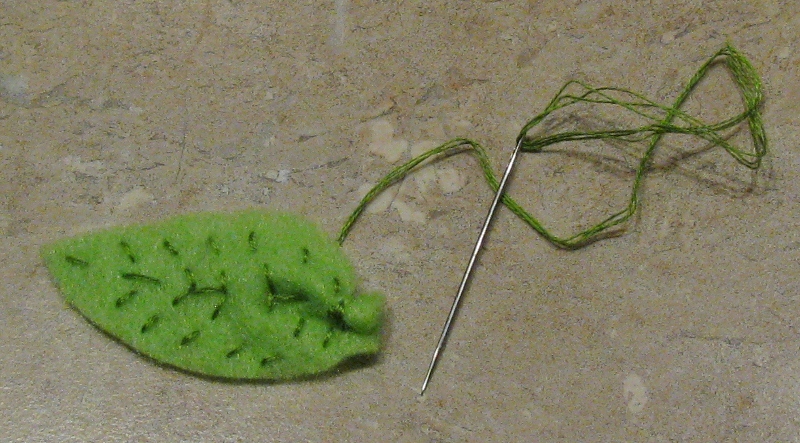
Cut two leaf shapes from green felt, and stitch "veins" on the leaves with a slightly darker green embroidery floss. Carefully gather the bottom of the leaves to add a little more detail, and then stitch the leaves to the underside of the felt flower:


Your cute felt clutch is now complete!

A few variations can easily be made to this project. You can cut the felt in half or into thirds to make smaller clutches. Also, you can divide the pockets into two or more sections by stitching up from the bottom. Attach a ribbon handle/strap to the underside of the clutch flap and you've got an adorable purse for a little girl. Lastly, by slightly adjusting the size of the clutch, you can create a cover for plastic travel baby wipe cases...a cute accessory for a girly diaper bag!
Thanks so much for letting me share this project with you! I hope that you will enjoy making and giving these to the special ladies in your life! Have a WONDERFUL week!
Happy crafting!
Becky B 3 Comments »


3 Responses to “Show Me Sunday : Becky”
Very cute idea. TFS
thanks for the birthday wishes!! and cute little craft!!
Great tutorial Becky!! What a cute clutch!!
Post a Comment